Heyhey,
so I am finally getting to this blouse. I wont take pictures of every step of the sewing process because its pretty much the same as my blouse with the crazy print. But I changed the pattern a little bit, so I wanted to show you that. 🙂 And I will take pictures of how I do the slit. and anything else I do different this time. 😉
 I wanted the sleeve a little wider to have more of a 70s/60s look, so I drew the sleeve on another paper.
 drew a line in the middle of the length and then cut the lower part into 4 similar wide strips
 looks like this
 so I drew the top part on another paper, then did a line 3cm parallel to the end-line because I wanted the sleeve also to be longer and then did the sleeves strips splitting up towards the hem

 I also wanted the collar bigger and longer for the 70s feeling

 as you might notice, I got a little to few fabric
 so I cut the second collar part and the later inside cuff parts of the corduroy planned for the dungarees to go with the blouse
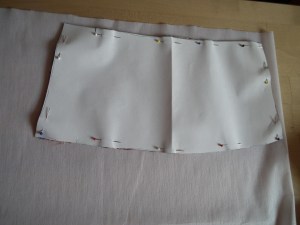
 this time I got the darts onto the fabric by cutting them from the paper and drawing them on and the pinning the pattern to the other side and draw the darts onto that other part as well
 For a clean look I also cut fusible interlining for the collar and collar stand parts
 and all of the cuff parts
 and ironed them to the fabric
Tomorrow I finally can start sewing. 🙂
keep sewing and smiling
your TailorFairy

