Heyhey,
here is the step by step to the blouse I already made twice: this and that version.

 I found the pattern in Ottobre magazine 5/2013, its pattern #3
 thats what it looked like after copying it onto paper and adding seam allowance. I changed the cuff a little bit, since I wanted it to be closed, and not to open with a button, I made it a little shorter.
 then I placed the pieces on the fabric, because I used a print fabric I made sure all pieces are placed in the same direction.
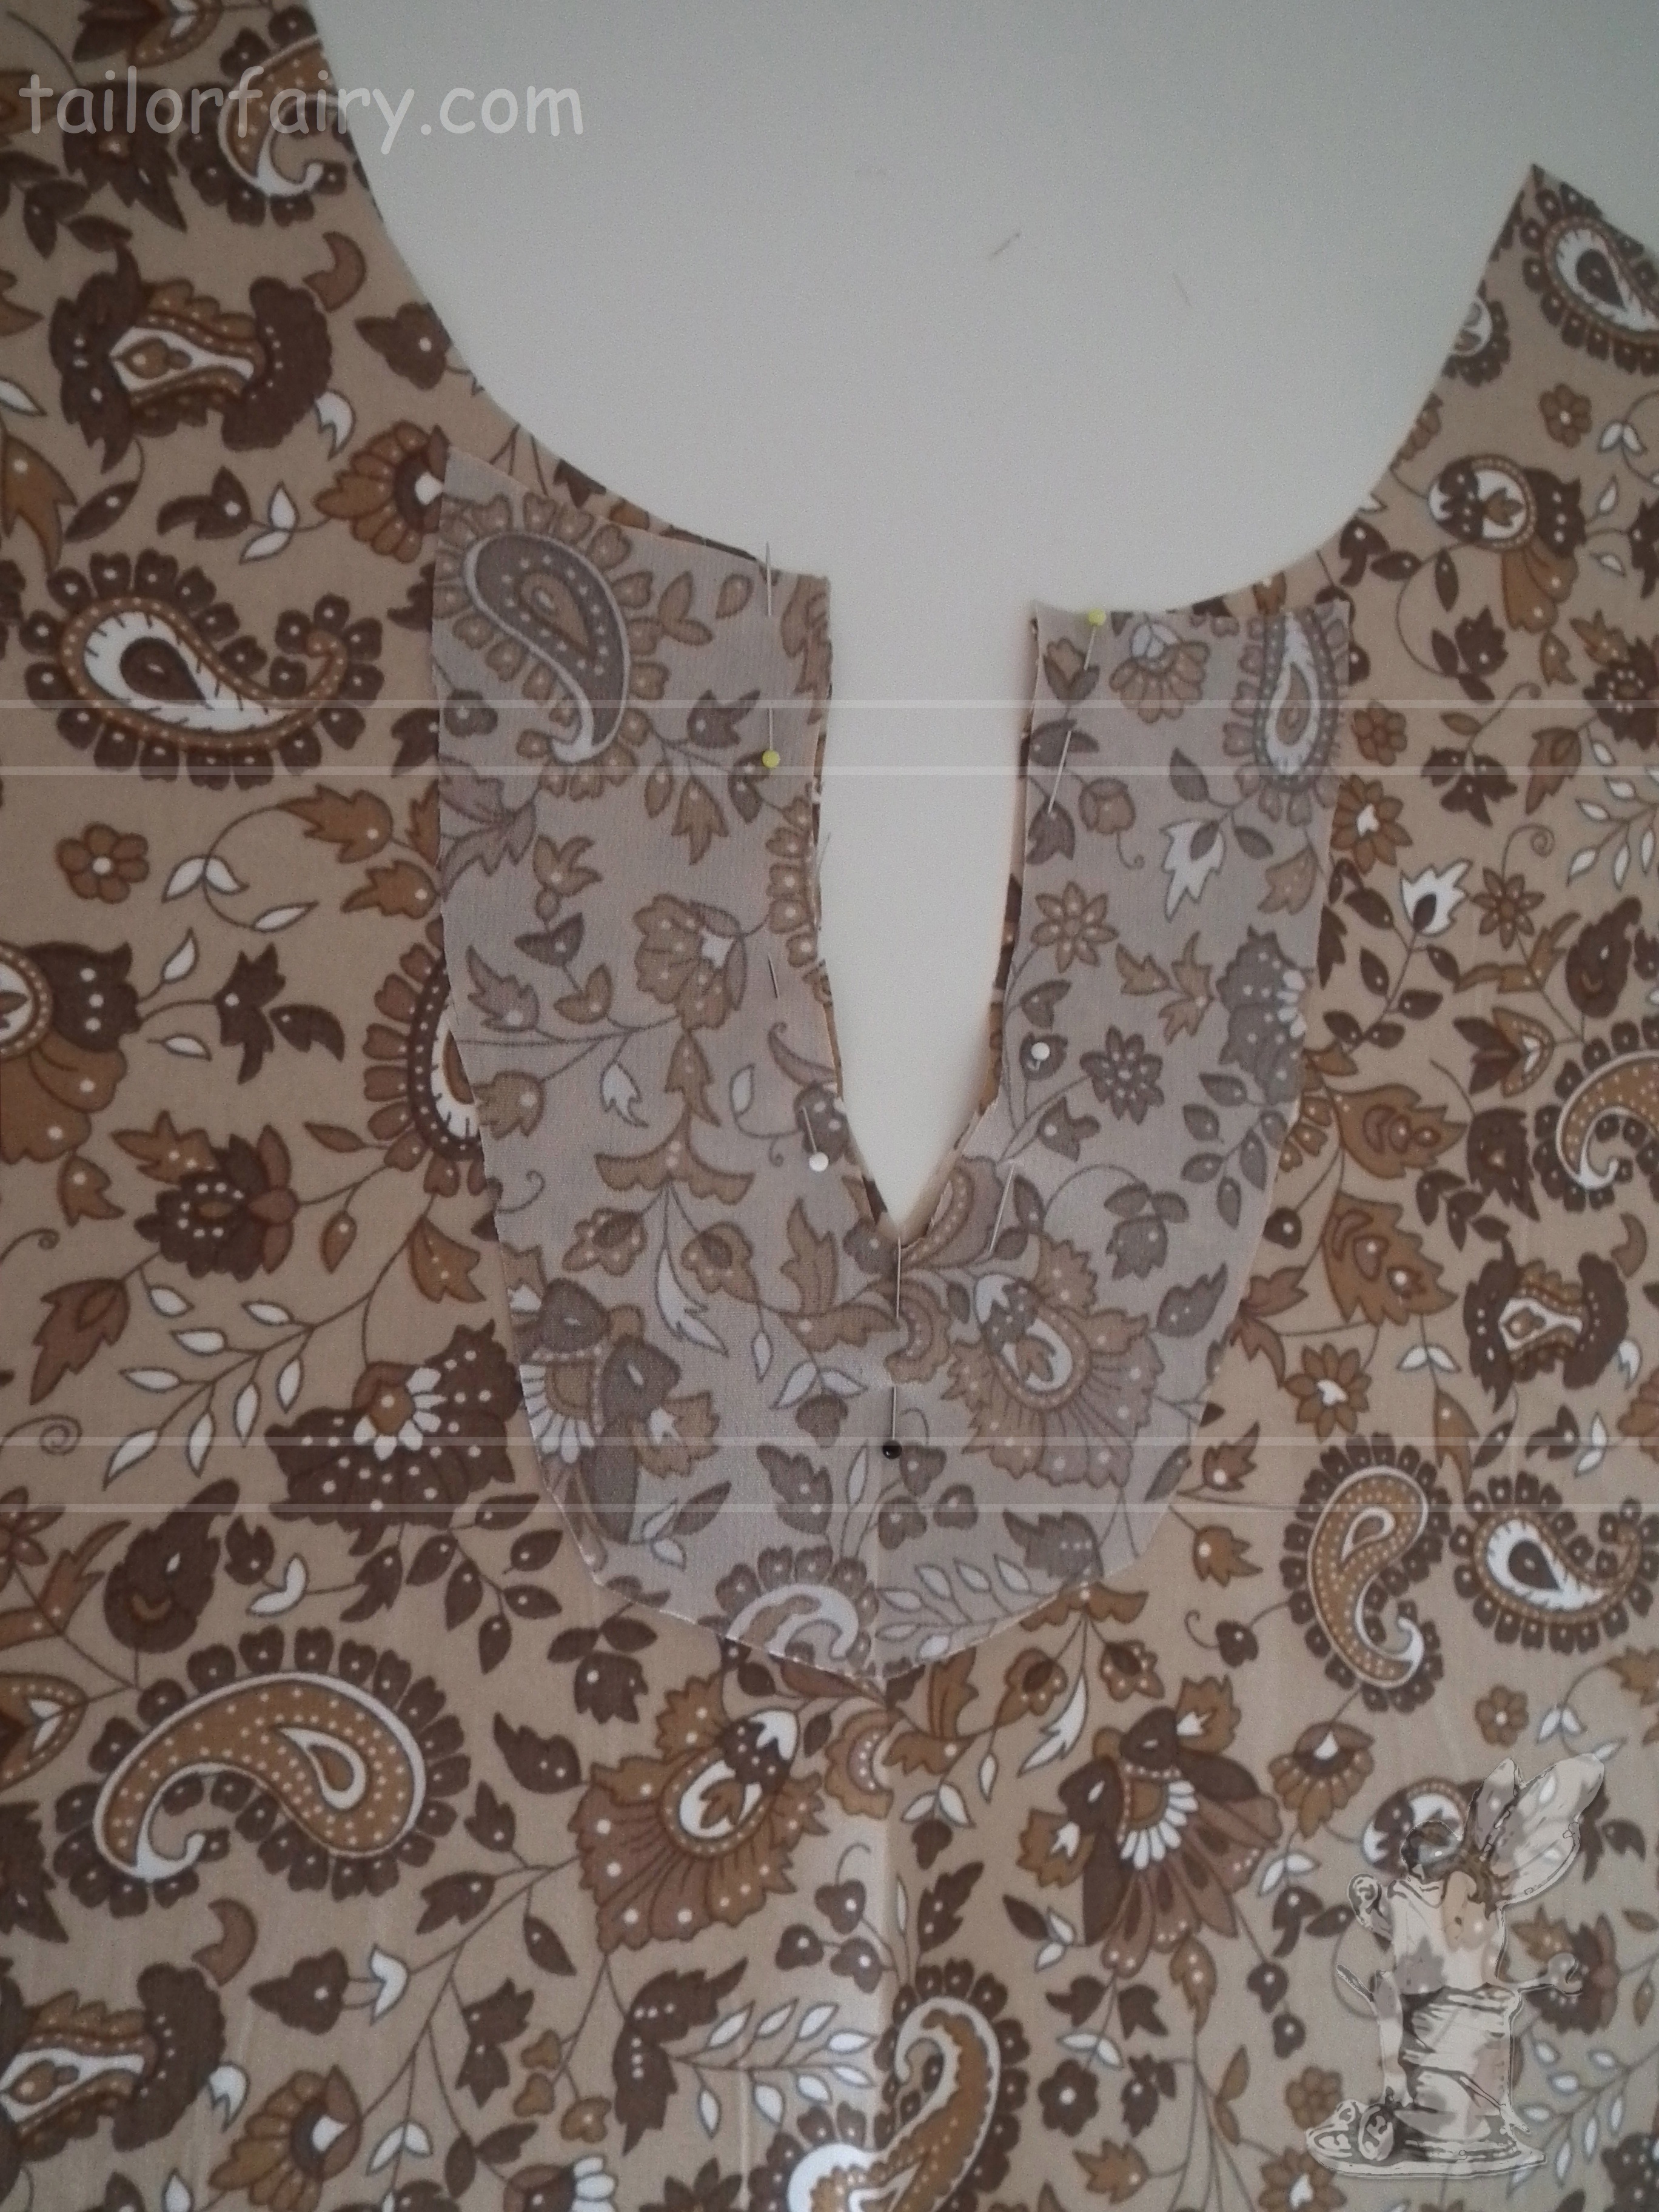 with my cut pieces I first placed the facing on the neck hole, pinned and sewed
 and cut in at the curve
 then I turned it around and wards
 ironed in place and pinned and sewed parallel to the edge
 now I sewed the parts where there are supposed to be ruffle with wide stitching
 then ruffled to the right side and pinned the shoulder part to front and back and sewed

 next I sewed the side-seams and the used the serger on all seam allowances and the open edge of the facing
 at the shoulder part I folded the seam allowances up and stitched them in place with a line parallel to the original seam.
I hope this was helpful for you! Let me know if there are any questions!
Next week I will show you how I made the rest of this blouse.
keep sewing and smiling
your TailorFairy
Spend £25 with FREE Delivery, £50 and get £5 off, £100 and get £10 off at Stitch Craft Create


[…] Anyhow here comes part2 of the loose fitting blouse, you can still find part1 here. […]