Heyhey,
here are the next steps for the apron. The first part about the pattern can be found here.
I am making my apron out of 2 different check-fabrics, in the same colors, but one has wider lines than the other.
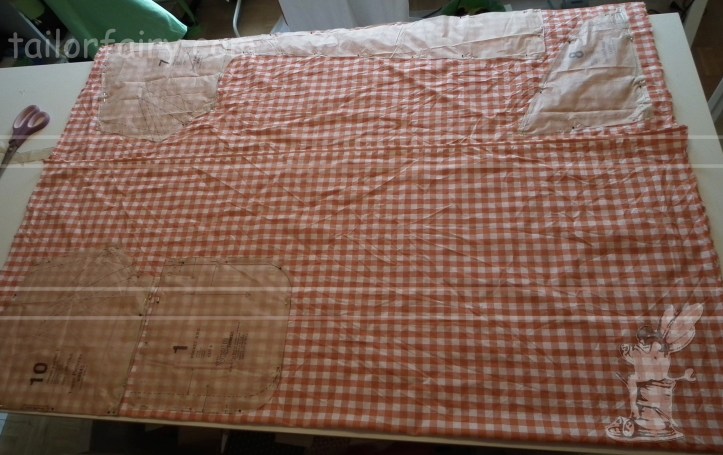
on the wider check, I placed the center front the top back part, the pockets, and the front facing
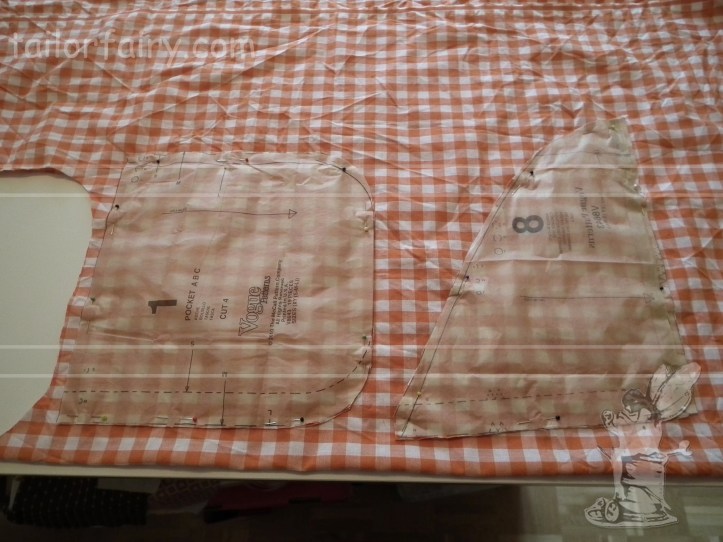
the pockets and the top back part I needed to cut twice

on the smaller check, I pinned the skirt parts and the straps

which I had to cut twice
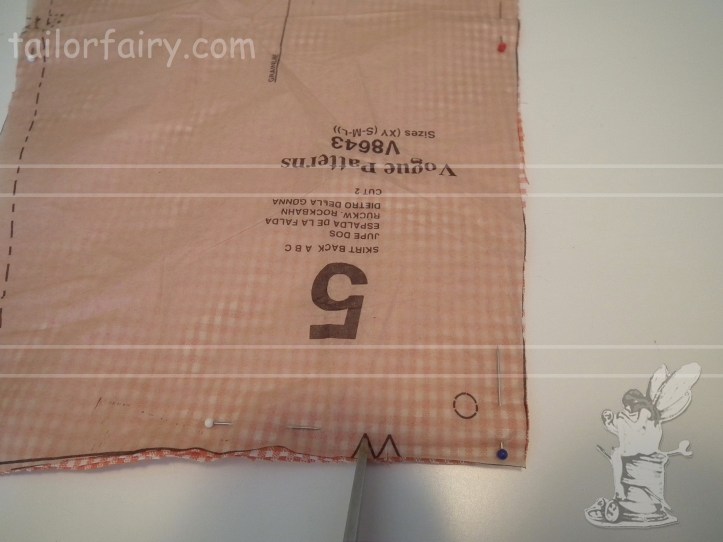
now I cut all pattern pieces and cut a few mm into the seam allowance at the markings (vogue patterns have seam allowance included, at least in Germany, but I guess it’s that way everywhere)

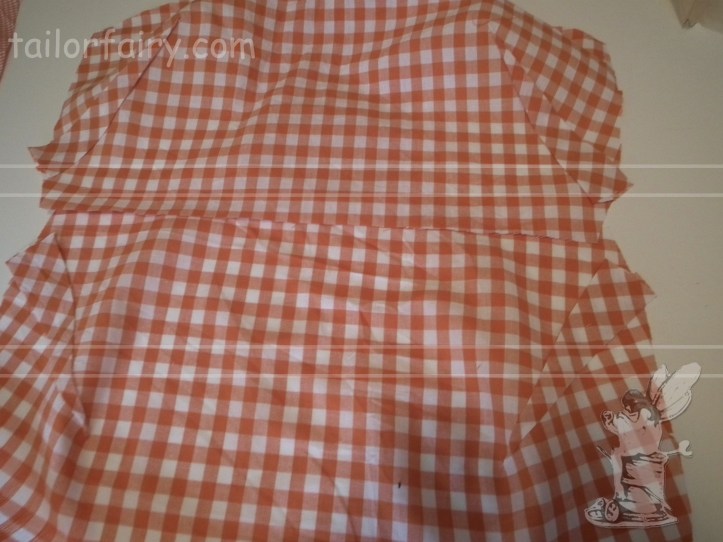
now I pinned the pockets together but left an opening
and sewed them together but left the opening open

cut the seam allowance at the corners and curves

and turned the right side out

ironed them into the intended shape
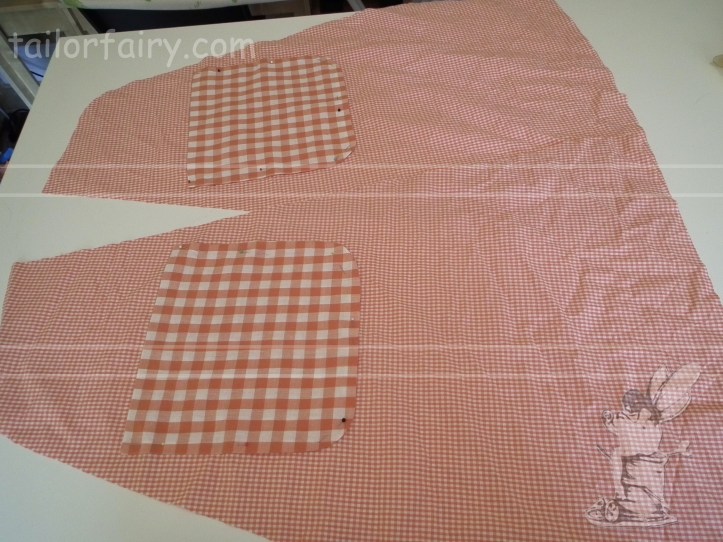
and placed them on my front skirt parts

by sewing them onto the skirt part I also closed the opening I used to turn

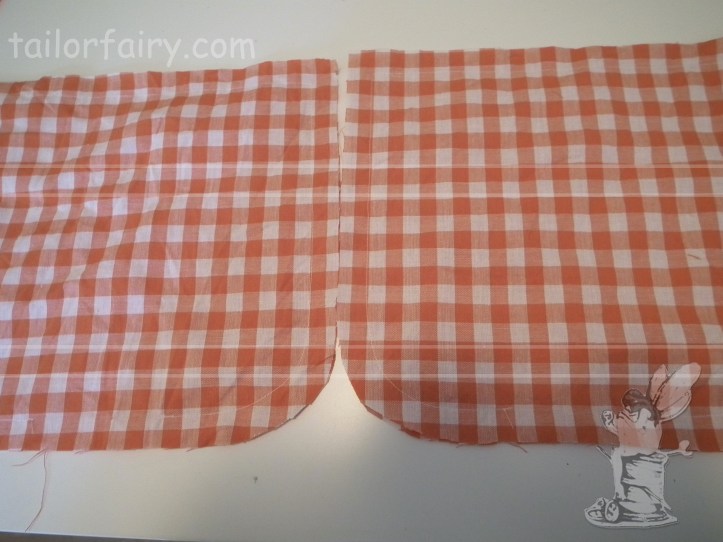
now I pinned my darts and sewed them from the bigger end to the small end. This way I can secure the seam at the beginning with some stitches back and forth and at the small end I can knot the yarn.
because the darts are pretty big and the seam allowance in the pattern did not fit with ironing it down I ironed it in the middle.
Next week I will show you the next steps for this project. Do you have any questions about this apron so far? Do not hesitate to ask!
keep sewing and smiling
your TailorFairy


[…] here are the next steps of my apron. You can find the first steps here: part1 and part2 […]
[…] are the next steps for my retro apron. The first steps can be found here: part1, part2, and […]