Heyhey,
happy new year! I hope you all have a wonderful year 2017!
Here are the next steps for my retro apron. The first steps can be found here: part1, part2, and part3

before I added the top facing

I needed to add the straps to the top, to be sure I add them in the right angle I placed them at the top, the way it is supposed to look later
 then folded it over and pinned it in place
and pinned the facing right side on the right side on top
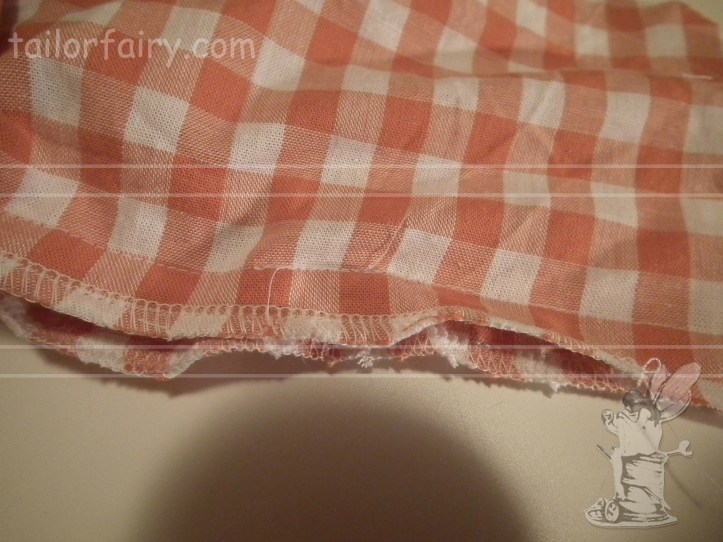
and sewed around, starting and ending at the end of the seam of the skirt parts to top part
and serged all around

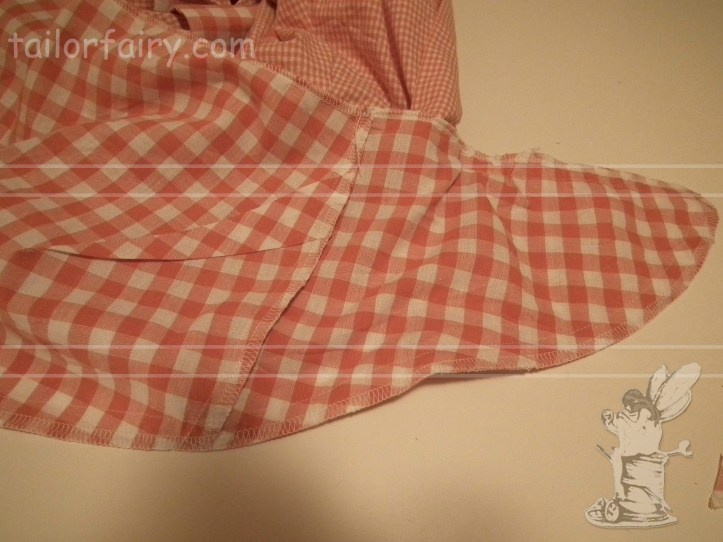
now I turned the right side out
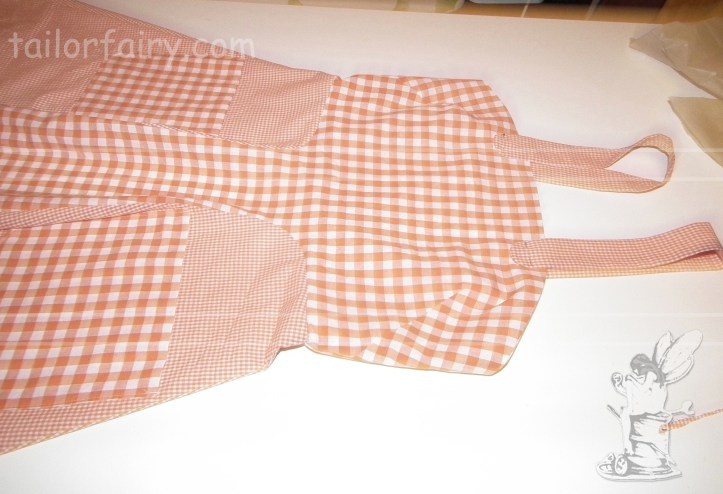
and pinned the ends of the straps in place
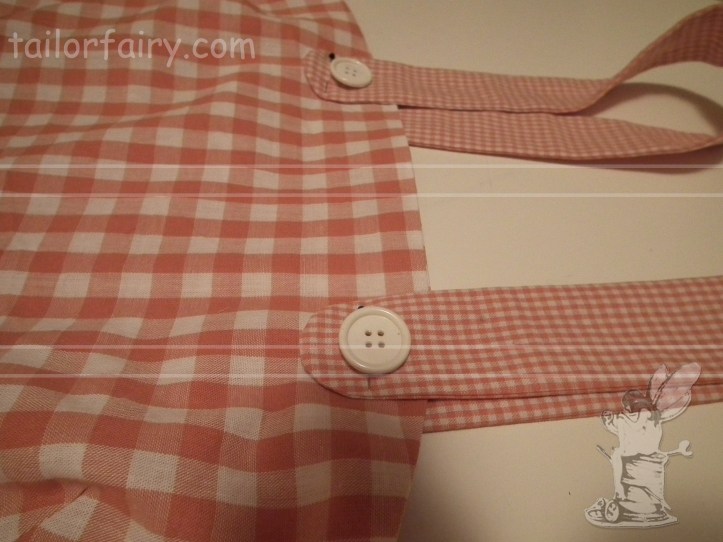
those buttons would fit well…
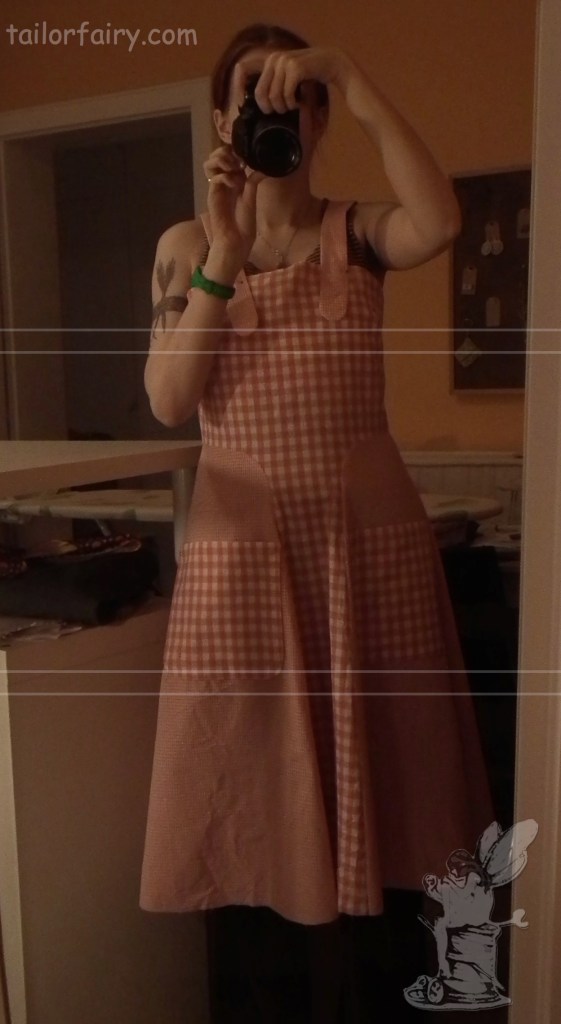
luckily I put it on to test the fit and noticed the straps are to long
 but the rest I already liked
I hope this was helpful for you! If you have any questions about this project so far, do not hesitate to ask!
The next and final steps will be uploaded next week.
Keep sewing and smiling
your TailorFairy


Happy New Year 2017!!! I’m wishing you all the best for this new year, keep up the good work!🎉🌺😀
thank you! I try my best, I somehow cant get into a rythm of posting regularly since starting my job, unlike before 😉 but I keep working on it